| MILL DEPTH STOP |
| WMT300/2 (similar to the Clarke, Grizzly 4015 and Smithy 1220) |
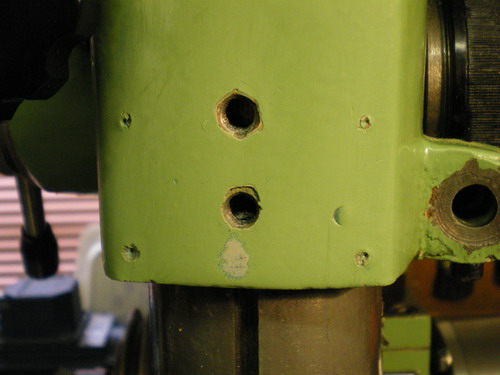
↓ The base plate fouls the existing M8 quill lock hole, so a U channel is milled.
↓ The four adjuster screw holes are drilled and tapped M4.
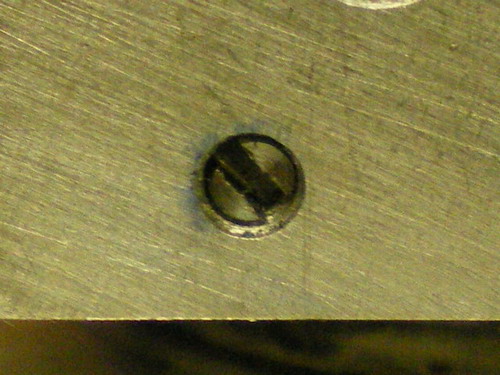
↓ That cap head is standing a little proud. I will mill a little off the cap head later.
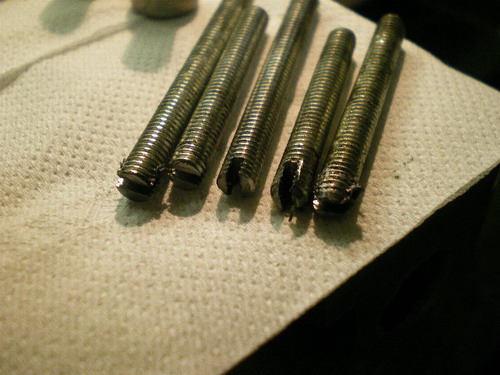
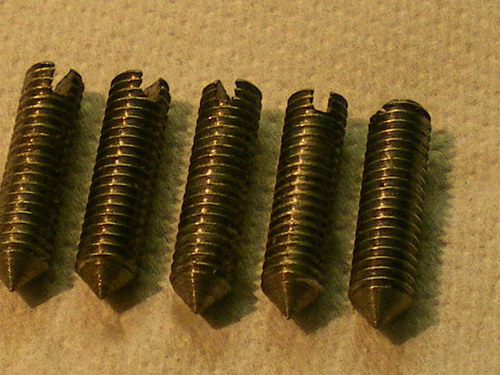
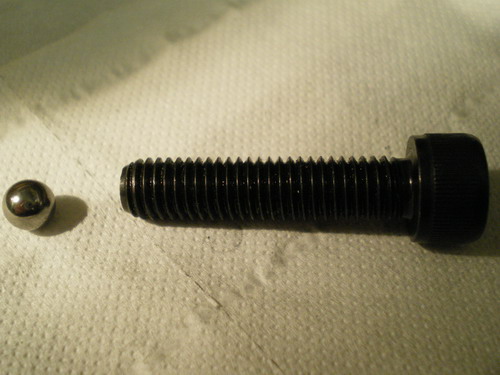
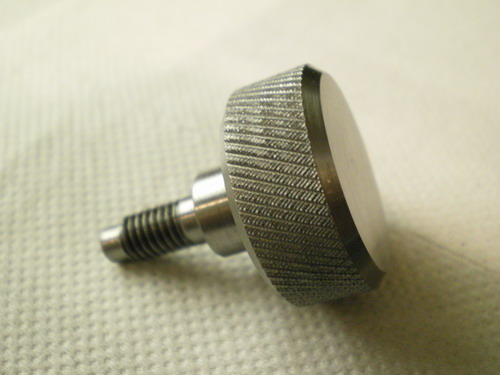
↓ Here are the screws after slotting. I made an extra one.
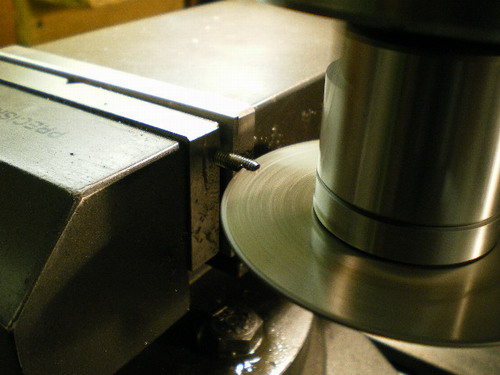
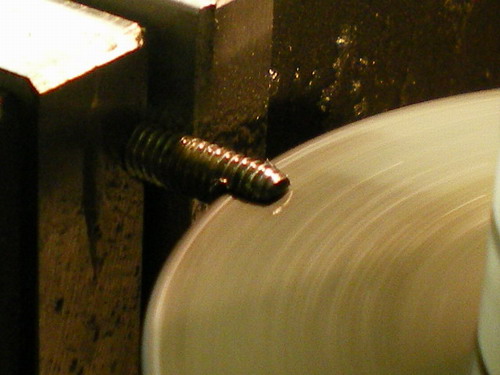
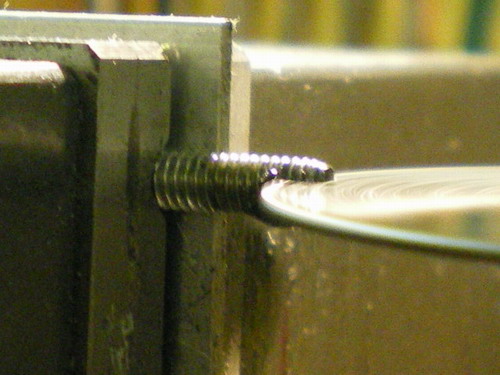
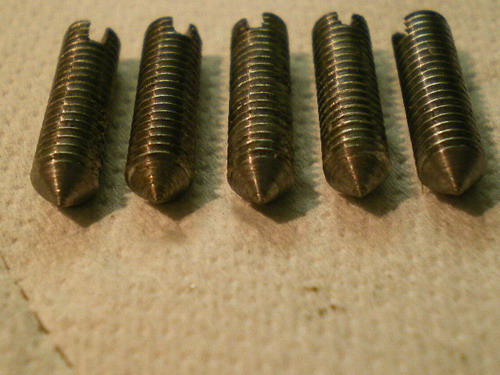
↓ Here are the screws after finishing in the lathe.
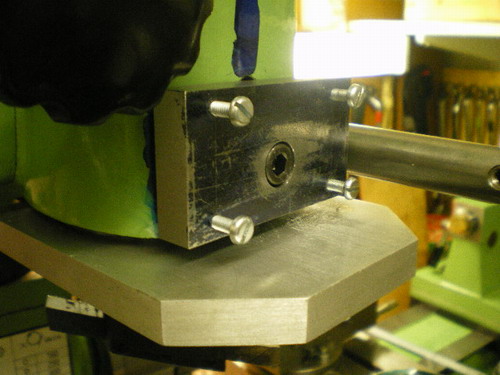
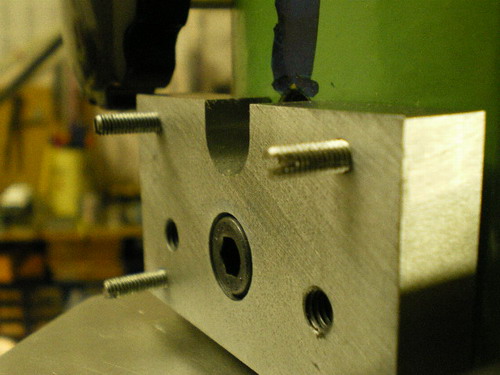
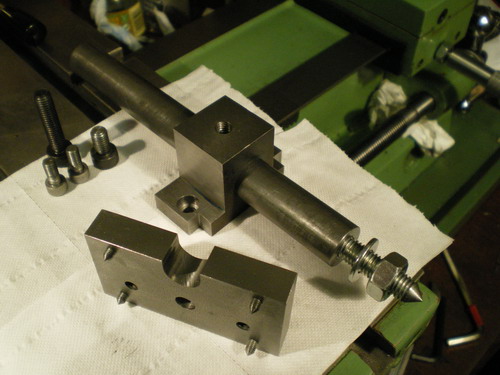
↓ The adjuster screws are inserted in the plate.
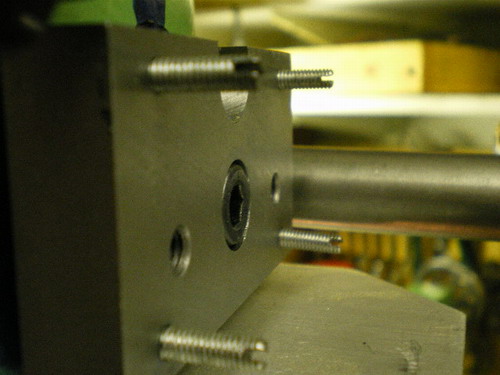
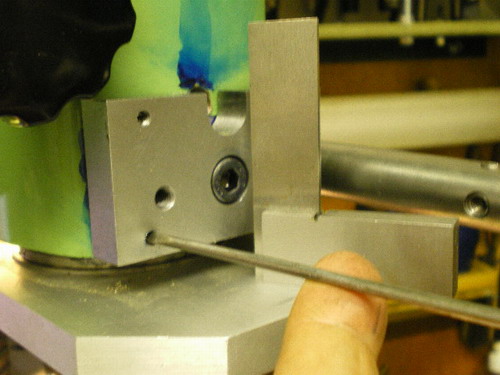
↓ The base plate is lined up to the quill nose plate using a set square and a screwdriver on the adjusters.

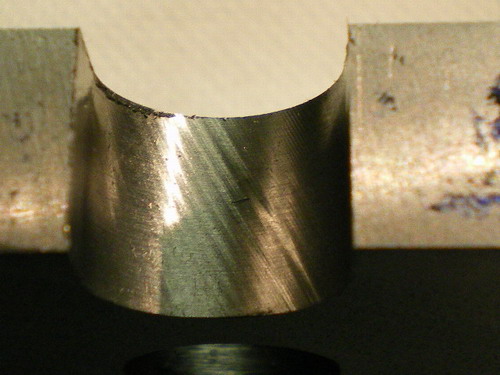
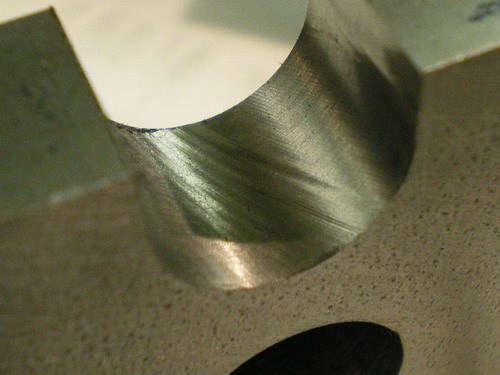
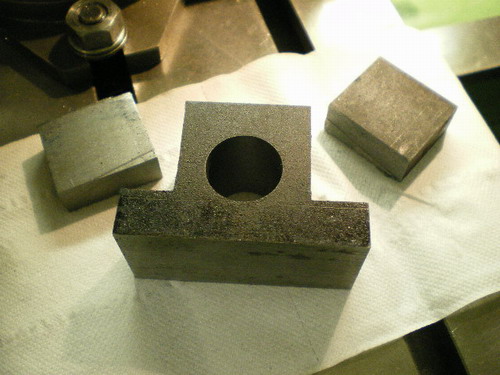
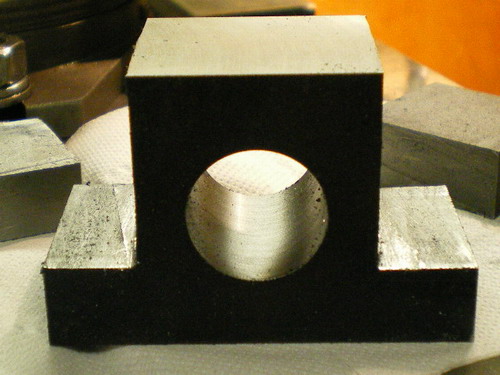
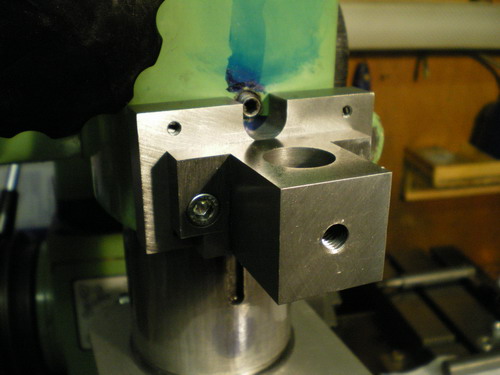
↓ I bored the hole to 19mm (3/4"), then made the final cuts.

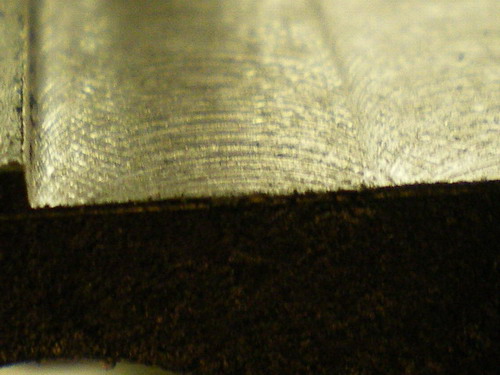
↓ The top was trued up with a fly cutter.
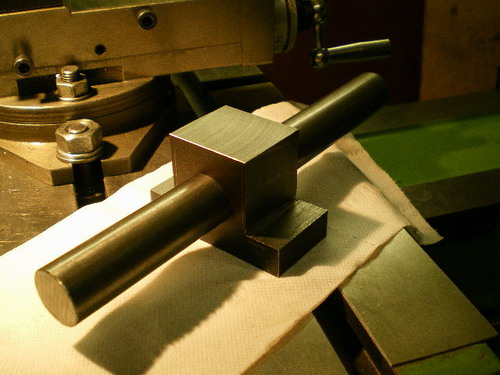
↓ The depth stop rod was tested in the bore.
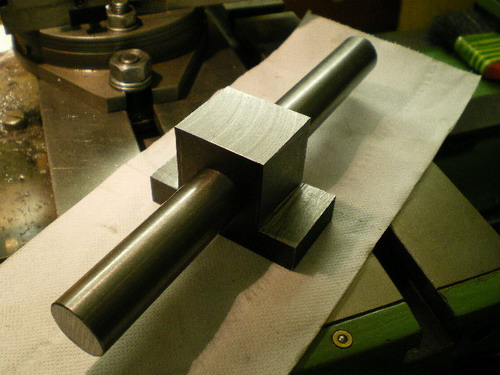


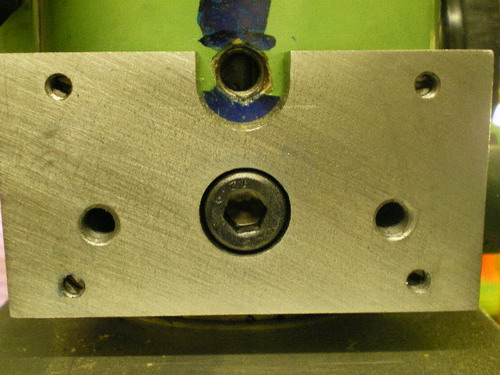
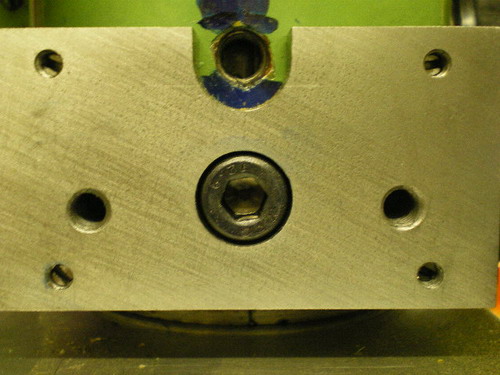
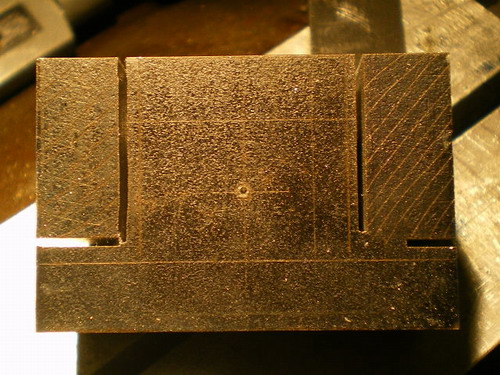
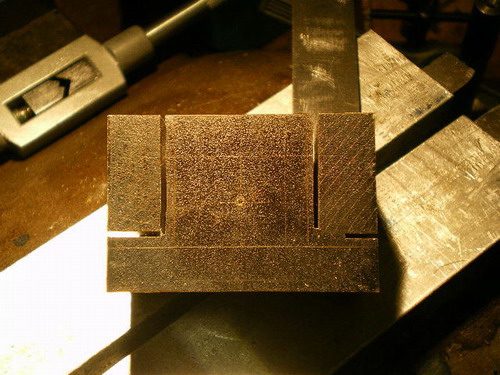
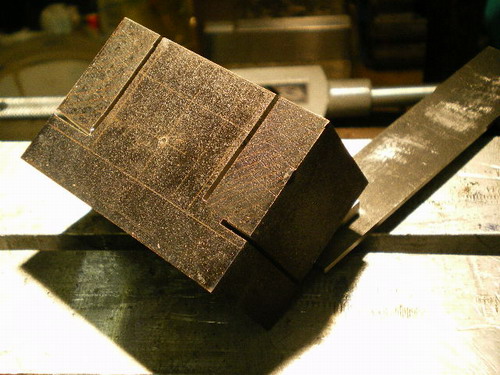
↓ The sides of the block were milled to the lines with an end mill.
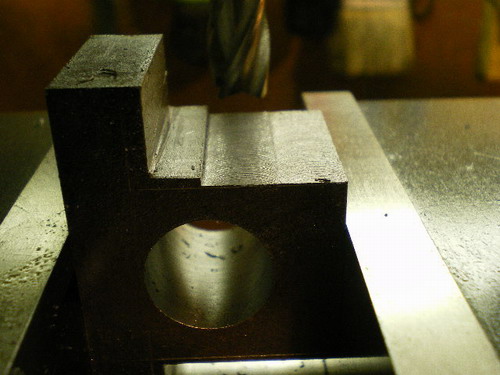
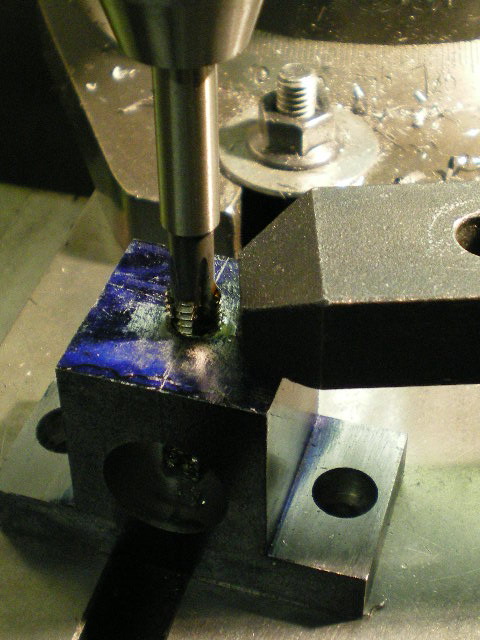
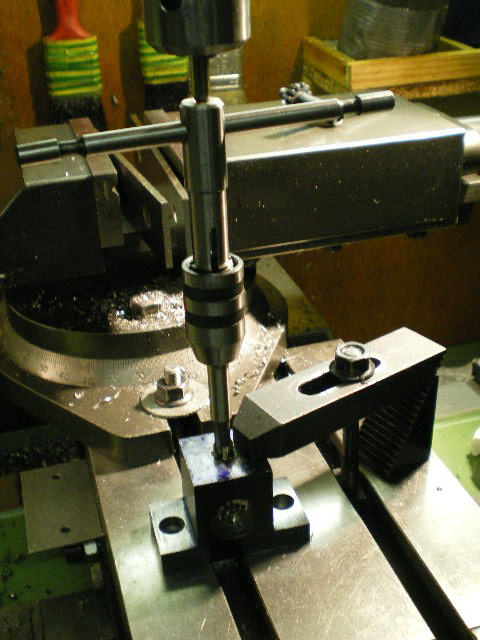
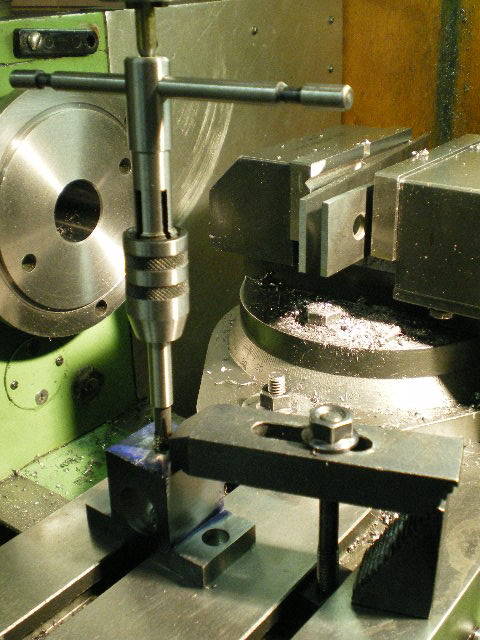
↓ The top of the block was drilled and tapped M8.
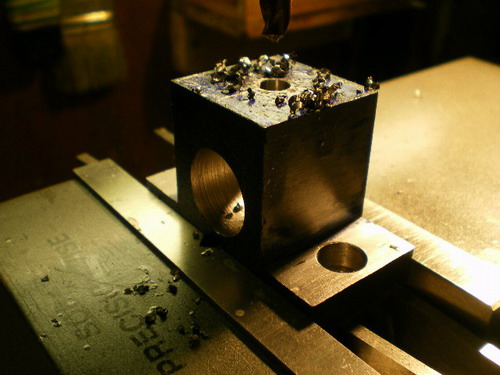
↓ Note the access to the original quill lock.
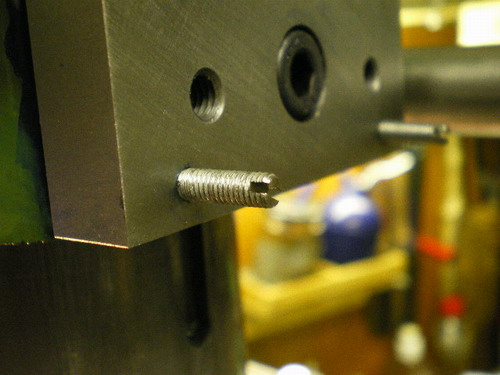
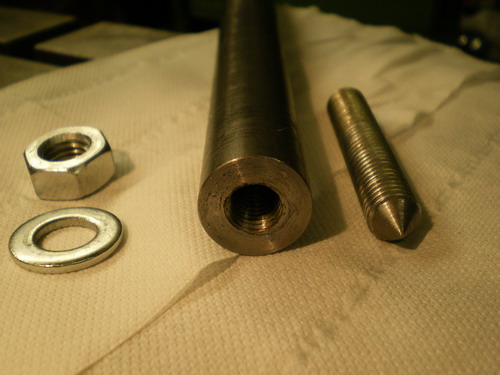
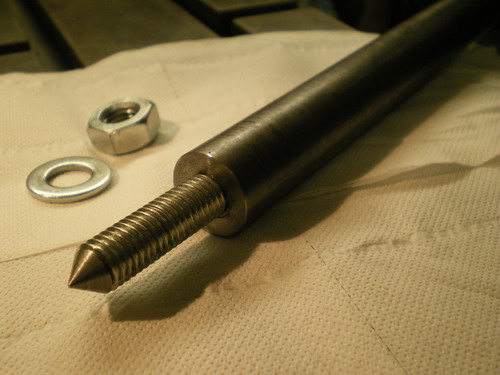
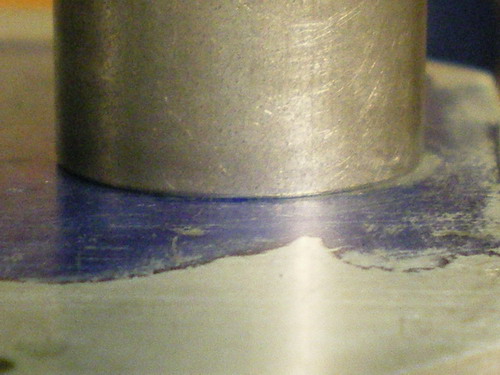
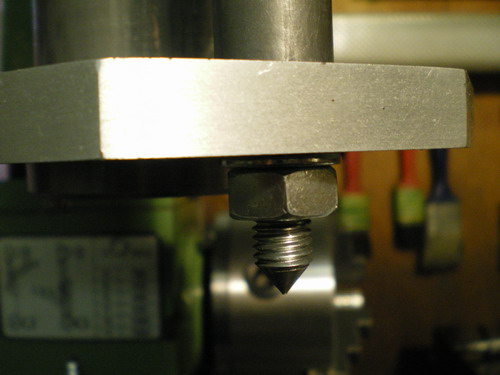
↓ I drilled and tapped the depth stop rod for an M10 stud. I put a point on the stud, and it helped to mark the hole position on the quill nose plate.
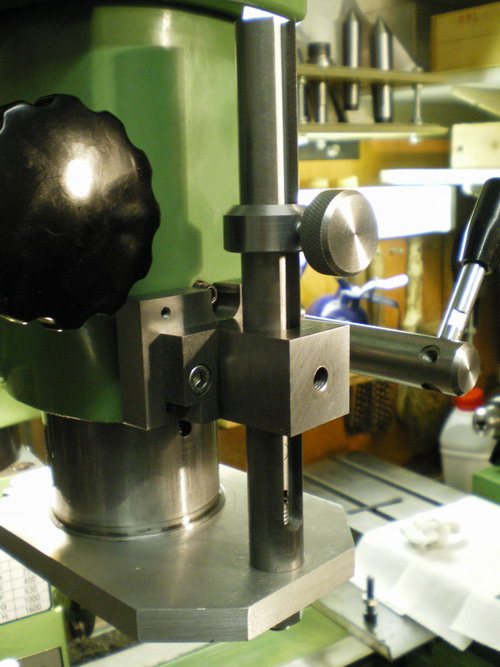
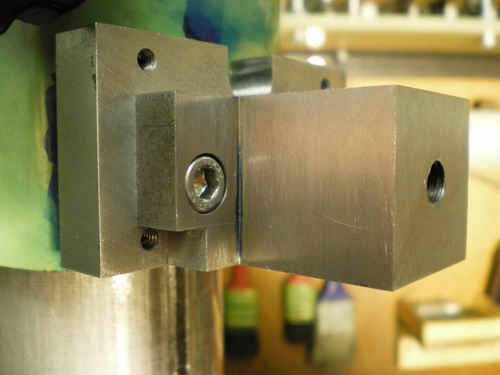
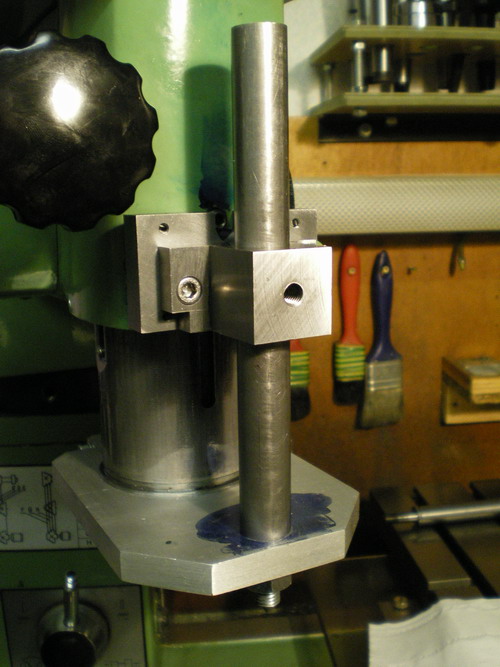
↓ The depth stop rod lines up with the quill nose plate quite nicely.
↓ The depth stop rod attached to the quill nose plate.
↓ The 19mm diameter depth stop rod, quill, and quill nose plate all move up and down without any binding or slop. I am pleased about this.
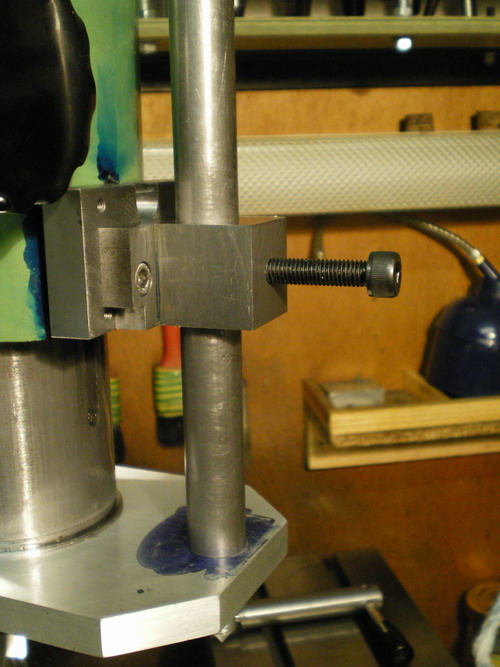
↓ This shows the gap behind that base plate. Note the adjuster screw.

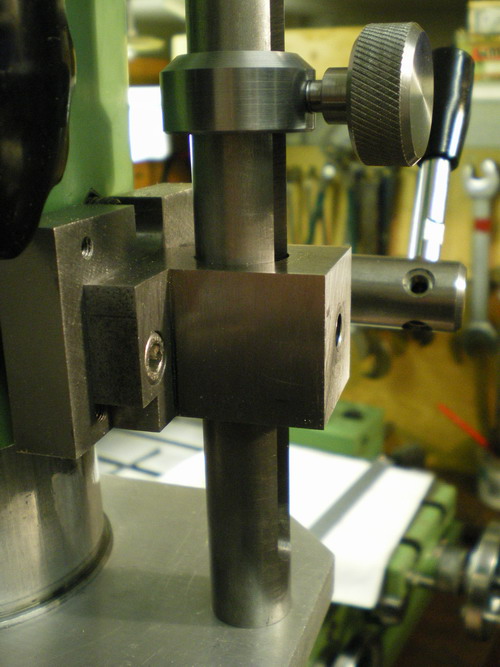
↓ The M8 cap screw can be used to lock the depth stop rod, and hence help lock and steady the quill.
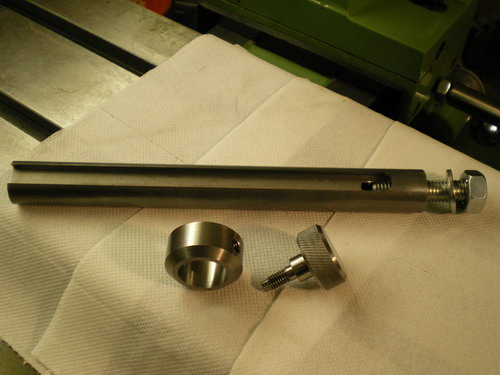
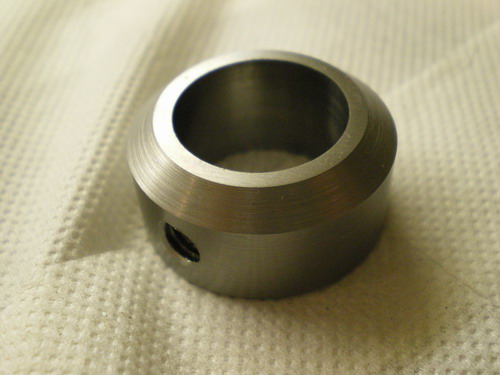
↓ Here is a close up of the locking collar and thumbscrew.
↓ Here are the installed components.